
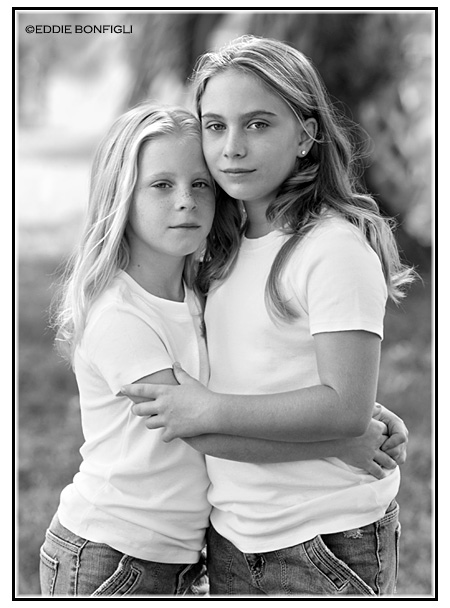
Below please find my contact information, along with a gallery that will give you a feel for the type of images I prefer to create.
- Email: eddie@eddiebonfigli.com
- Location: Palm Beach County, Florida. (will travel)

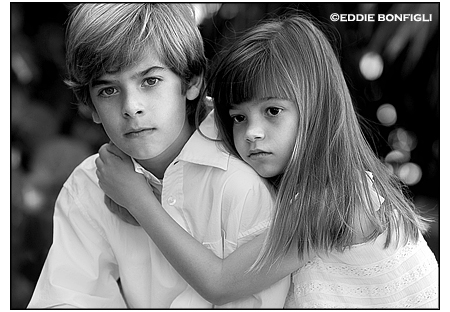


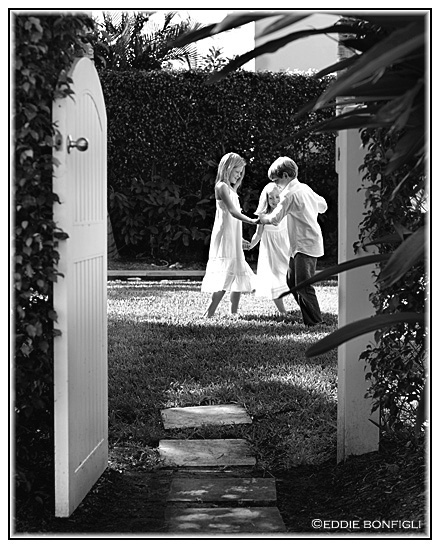

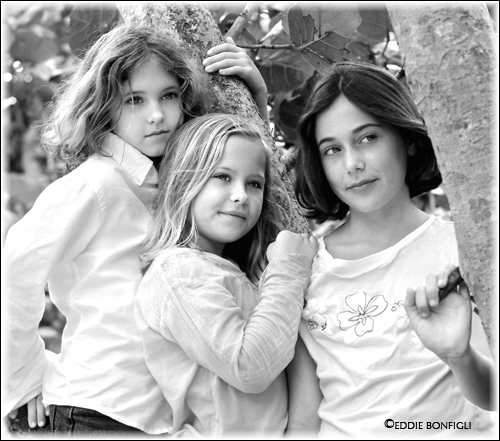
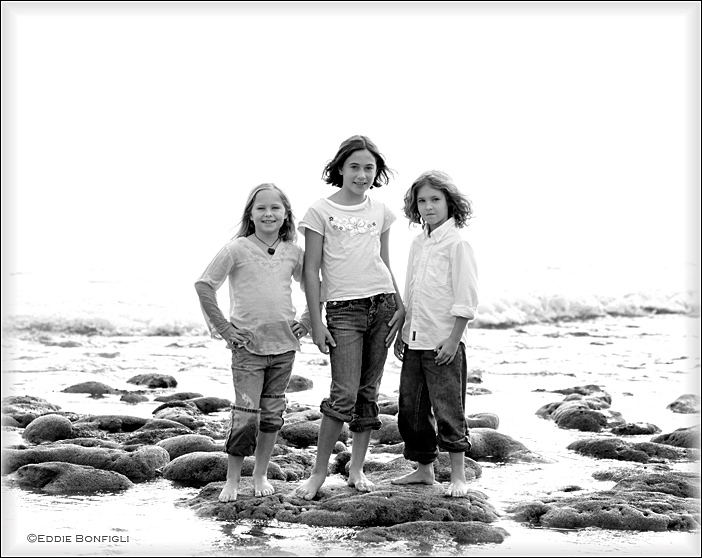


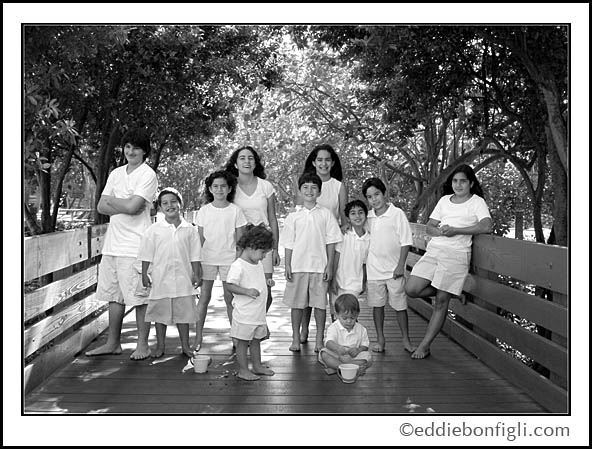


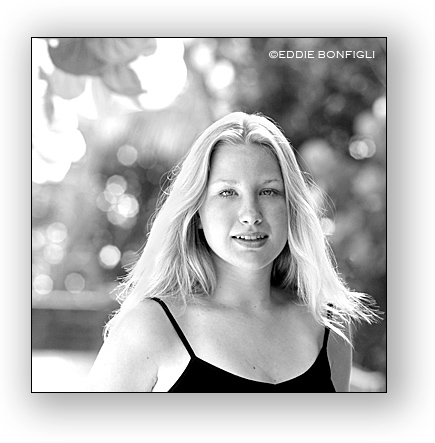

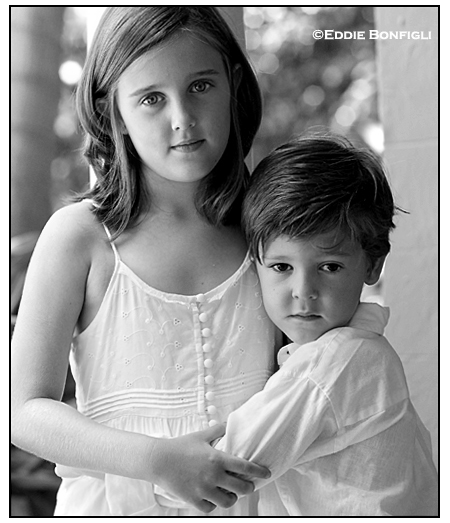
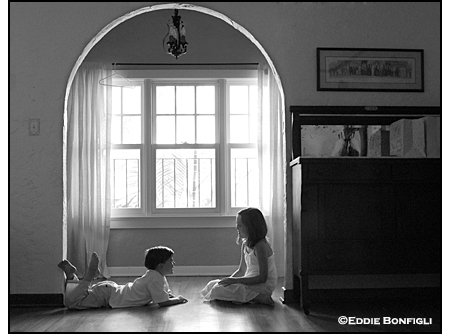
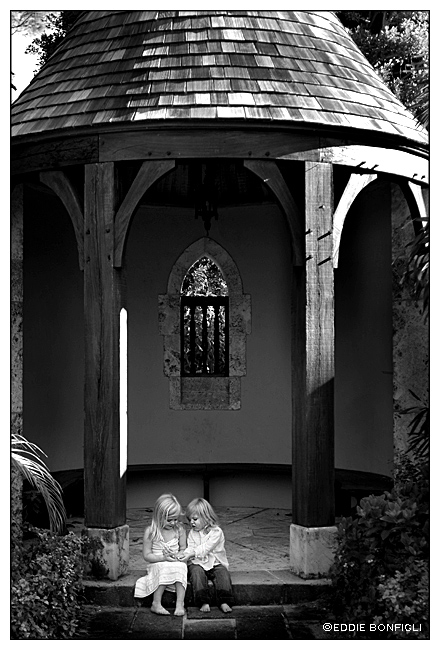


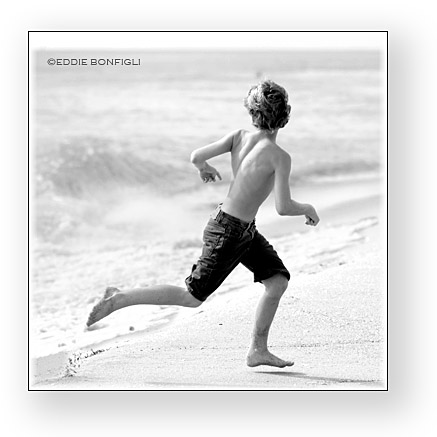

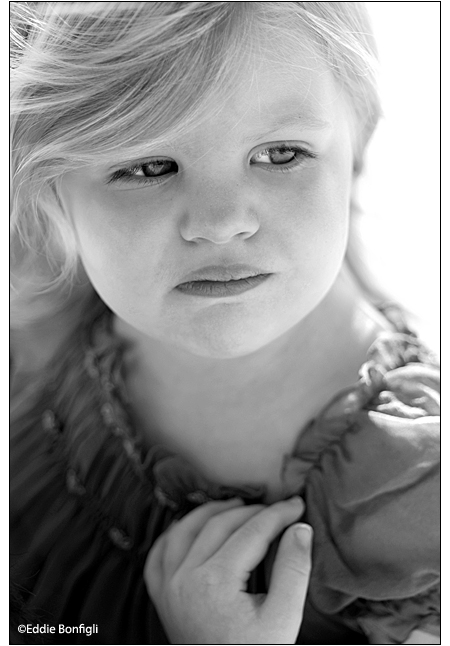


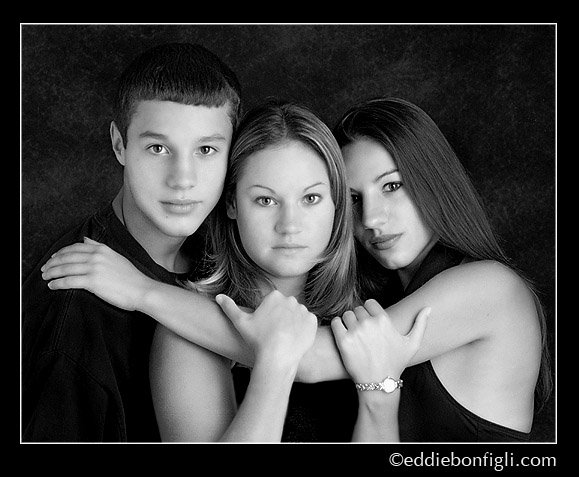
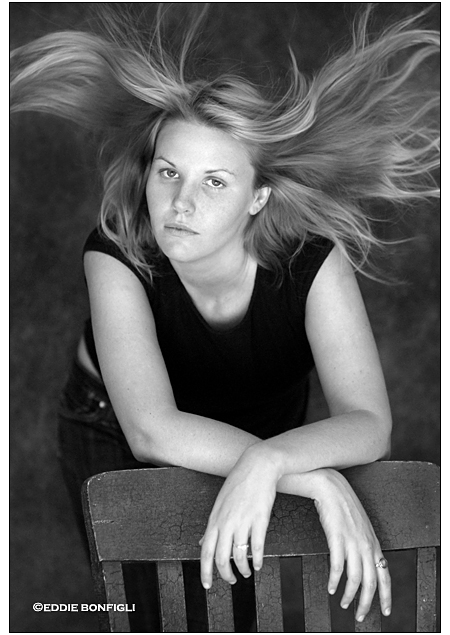


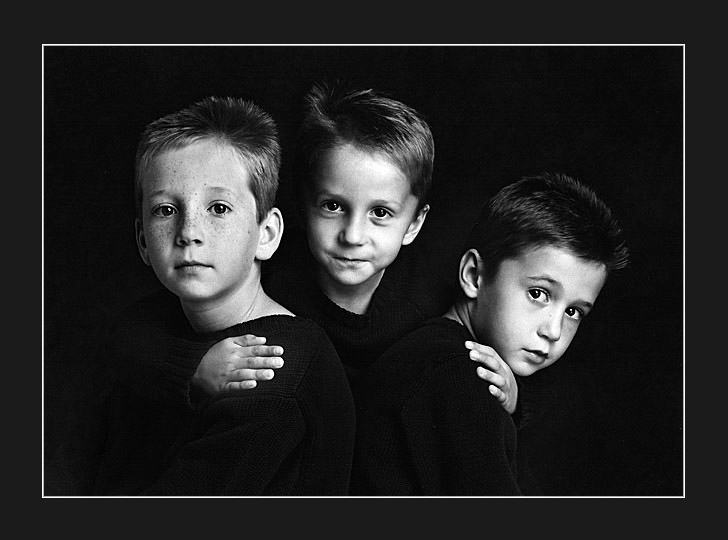

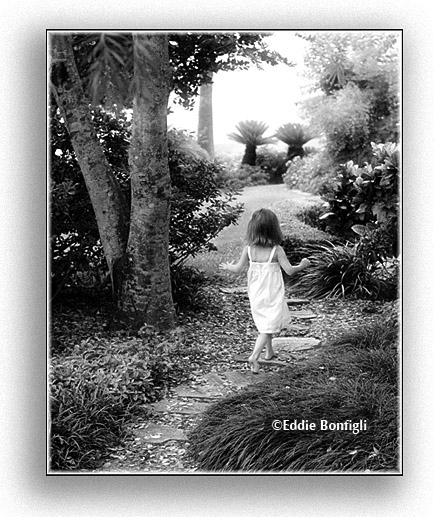
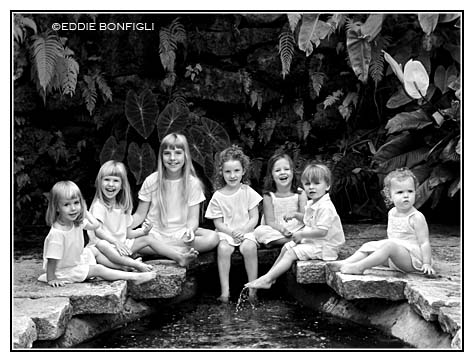
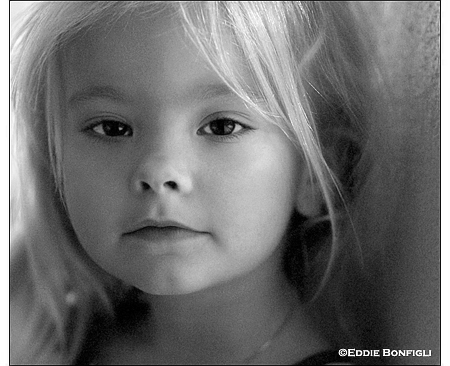


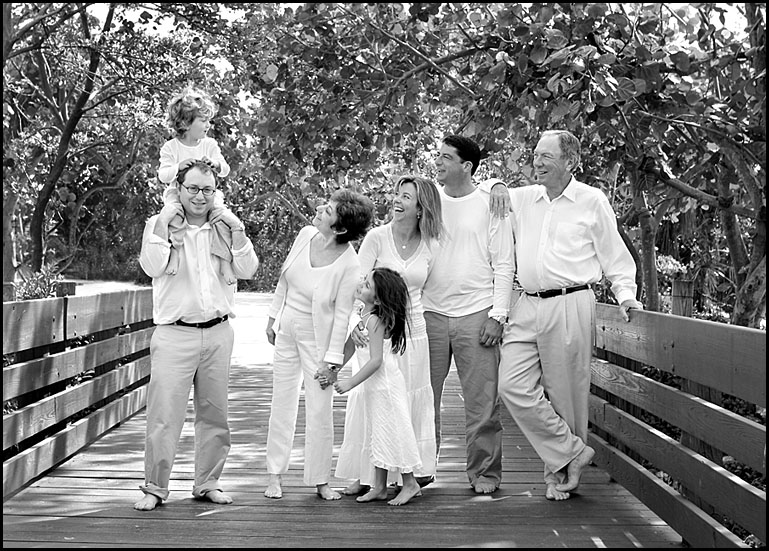

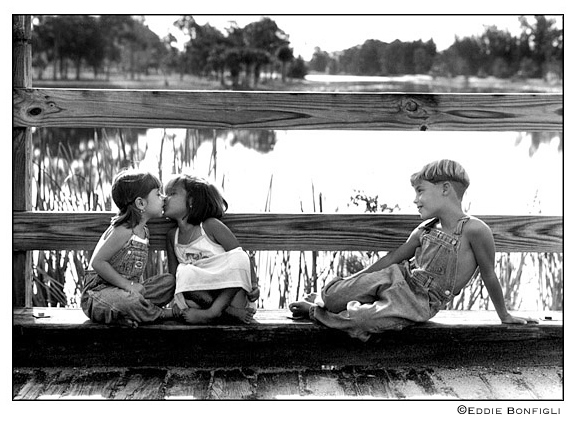
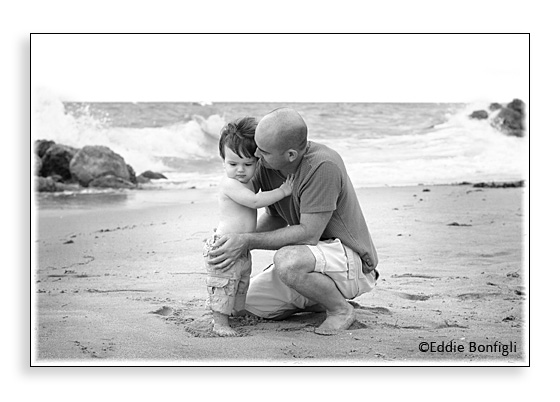


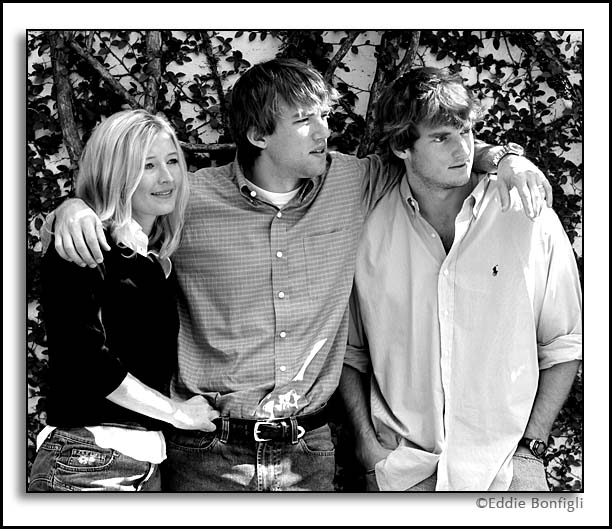


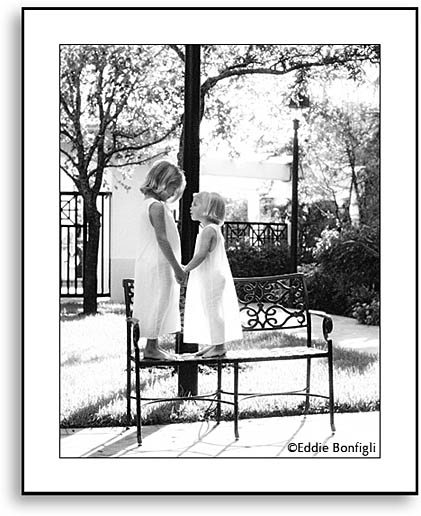

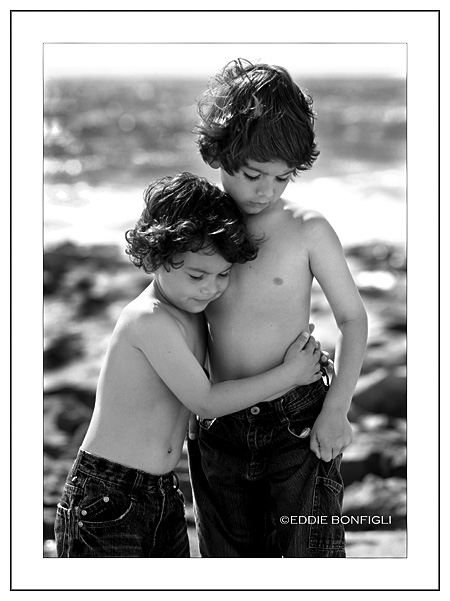
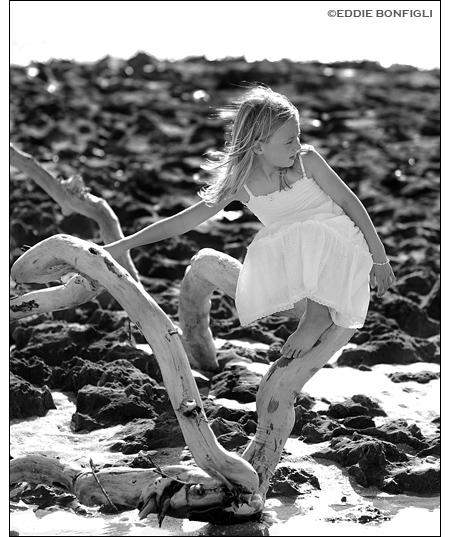


Below please find my contact information, along with a gallery that will give you a feel for the type of images I prefer to create.